How to Create Stunning 3D Renderings for Architecture Projects?
Creating stunning 3D renderings for architecture projects is both an art and a science. Renowned architect John Doe states, “A powerful architecture 3d render can tell a story that words cannot.” This highlights the necessity of compelling visuals in architecture. They help clients and stakeholders envision the final product effectively.
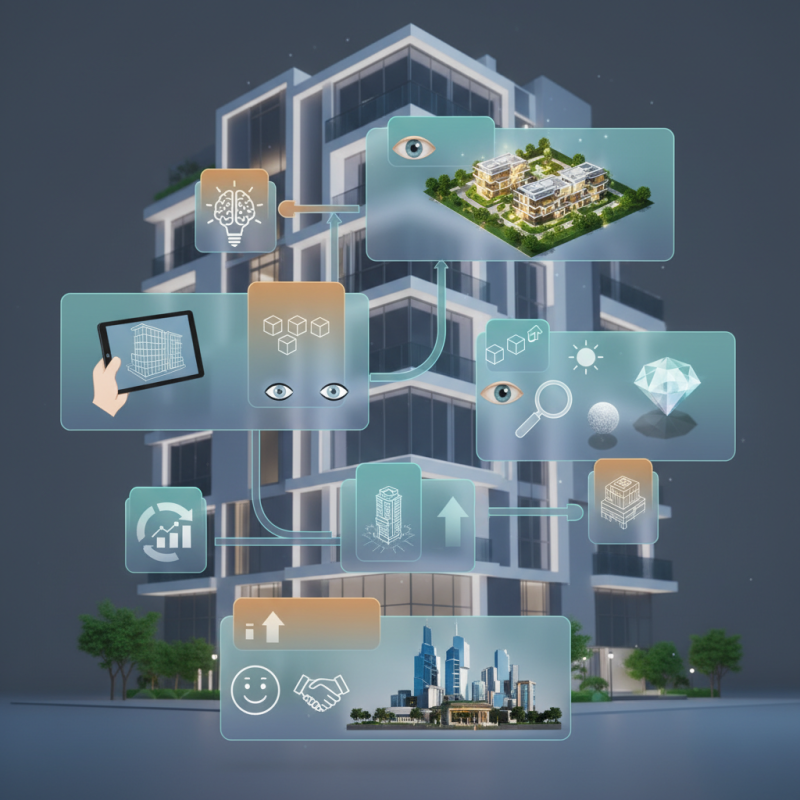
In today's competitive landscape, the demand for high-quality architecture 3D renders is growing. Designers must blend technical skills with creativity. Quality renderings communicate designs clearly, encouraging feedback and collaboration. They also allow for better decision-making throughout the project lifecycle.
However, creating these visuals is challenging. Many professionals struggle with software tools and artistic vision. Mistakes in lighting and texture can diminish the render's impact. It's essential to learn from these errors and refine techniques. Embracing this process leads to more stunning results and satisfied clients.
Understanding the Basics of 3D Rendering in Architecture
3D rendering in architecture is revolutionizing how designs are visualized. It serves as a bridge between abstract ideas and tangible realities. Consider that 70% of architects believe that high-quality renderings can win clients over. This statistic underscores the significance of mastering rendering techniques. Understanding light, texture, and perspective is crucial. Each element brings a project to life.
The basics involve various software tools and settings. Familiarity with materials and lighting can significantly influence realism. Reports indicate that 52% of architects feel that mastering rendering basics directly improves project outcomes. It’s valuable to invest time in learning these aspects. Experimentation is key. Mistakes in rendering serve as learning opportunities. Often, renderings may fail to meet expectations. Such experiences encourage refinement.
Incorporating feedback can elevate your work. Collaboration with peers leads to better results. Sometimes, overlooking small details can diminish the overall impact. Reflecting on past projects often reveals areas for enhancement. Life-like renderings take practice, patience, and an eye for detail. As you evolve your skills, you contribute to more impactful presentations in architecture.
Selecting the Right Software Tools for 3D Architectural Renderings
Selecting the right software tools is crucial for stunning 3D architectural renderings. Various options exist, each with unique features. Consider usability, compatibility, and rendering quality before making a choice. Many programs allow users to create realistic textures and intricate lighting settings. Some tools are user-friendly, while others demand advanced skills. It's essential to find a balance that suits your expertise.
Experimenting with different software can be enlightening. You might discover unexpected features that enhance your workflow, like integrated asset libraries or procedural modeling. However, the learning curve can be steep. Several users often report frustration when adapting to new tools. This reflects the varied experiences within the architectural community. Sharing insights about software challenges can foster a supportive environment.
Moreover, keep in mind that no software is perfect. Each has limitations, whether in rendering speed or high-level detail. User guides may not cover every aspect, which can lead to confusion. Hence, joining forums or communities can provide valuable peer support. Collaborating and discussing challenges often leads to innovative solutions, ultimately enhancing the quality of your architectural visualizations.
Techniques for Creating Realistic Textures and Materials
Creating realistic textures and materials in architectural renderings significantly enhances the visual appeal. A recent report by the Architectural Visualization Association highlights that nearly 70% of viewers are drawn to projects with lifelike textures. Achieving this realism requires an understanding of material properties. Various surfaces, such as wood, stone, and glass, must accurately mimic their real-world counterparts. For example, adding subtle imperfections, like scratches or uneven surfaces, can evoke a sense of authenticity that glossy finishes lack.
Incorporating texture mapping and high-resolution images is crucial. High-resolution textures can help simulate intricate details, making surfaces appear more lifelike. A study by the Institute of Building Technologies found that textures created with 4K resolution or higher can improve viewer engagement by over 50%. However, rendering these details can be computationally intense. Artists must balance detail and performance, which often leads to challenges in workflow and rendering times.
Lighting also plays a pivotal role in texture realism. Proper lighting reveals how materials interact with their environment. Experimenting with different light sources can lead to unexpected results. It's essential to constantly evaluate how textures perform under various conditions. Sometimes, what looks good in one context might not translate well to another. This ongoing reflection can refine skills and lead to better outcomes over time.
Lighting Strategies to Enhance 3D Architectural Visualizations
Lighting plays a crucial role in enhancing 3D architectural visualizations. Properly executed lighting can bring a project to life, creating mood and depth. Natural light should always be considered. The time of day affects shadows and highlights. For example, morning light casts softer shadows, while evening light creates a warm, inviting atmosphere.
Artificial lighting is equally important. Utilize spotlights to draw attention to key features. Ambient lighting can provide a balanced look, creating harmony throughout the space. Experiment with different light temperatures. Cooler tones can evoke a modern feel, while warmer hues may suggest comfort and intimacy.
However, finding the right balance can be challenging. Overly bright spaces might wash out details. Shadows can obscure important architectural elements. Review your renderings critically and reflect on how lighting choices affect perception. Adjusting these elements can enhance realism and overall appeal. Embrace trial and error in your process, knowing that each rendering offers a new learning opportunity.
How to Create Stunning 3D Renderings for Architecture Projects? - Lighting Strategies to Enhance 3D Architectural Visualizations
| Lighting Type | Purpose | Best Practice | Common Tools |
| Natural Light | Creates realistic daylight effects | Use large windows and light reflectors | SketchUp, V-Ray |
| Artificial Light | Enhances visual focus on specific areas | Layer lights with different intensities | 3ds Max, Lumion |
| Ambient Light | Provides soft, general illumination | Use carefully to avoid flattening the space | Blender, Cinema 4D |
| Accent Lighting | Highlights architectural features or decor | Use spotlights or LED strips | Rhino, Enscape |
Best Practices for Presenting and Sharing 3D Renderings Effectively
When presenting 3D renderings, clarity is key. Use high-resolution images to showcase details. A well-lit scene highlights textures and materials effectively. Ensure that each rendering serves a purpose. Focus on conveying emotions through visuals. Potential clients respond better to relatable, immersive experiences.
Don't forget to consider the context. Share renderings in environments where they will be used. This adds depth and relevance to your work. Sometimes, the ideal setting may not align perfectly with the original design. Be prepared to adapt and create new scenes that enhance your project’s narrative.
Using social media and online portfolios can amplify your reach significantly. However, avoid overcrowding platforms with too many images. Select your best work and provide descriptions that inform viewers. Engaging captions invite questions and stir interest. Reflect on feedback from clients and peers. It can guide your future projects and improve your presentation skills.
Architectural 3D Rendering Popularity by Year